We provide professional machine cleaning, tank sanitation, and coolant system rehab - alongside this DIY procedure. EASYCUT product customers receive special service rates and, in select cases, cleaning is included at no additional cost.
...back to coolant articles
In this guide, we will walk you through the steps to properly clean your CNC machine if the coolant starts to emit an unpleasant odor. While we will cover preventative measures in future articles, sometimes the smell can become unbearable even after trying biocide and other additives. In such cases, the only solution is to thoroughly clean the CNC machine and replace the coolant. Let's get started.

Contaminated coolant on the tank surface
To begin, purchase a suitable system cleaner from our website! Use the following formula to determine the amount of cleaner required: Cleaner = Tank capacity/100 * K. For moderate pollution, set K = 4, and for hard pollution, set K = 6. For example, if you have a 400-liter coolant tank, you will need to add 16 liters of cleaner. In gallons, for a 105-gallon tank, add 4 gallons of cleaner. Utilize all coolant nozzles inside the machine and pump the coolant with the cleaner through the high-pressure coolant unit if available.
Before using a CNC coolant cleaner, ensure that the CNC machine is turned off and locked out properly. This step is crucial for your safety.
Using an air vacuum, remove as much of the old coolant as possible. Make sure to follow your local regulations for the proper disposal of the old coolant.
Consult your machine manual for specific instructions on maintaining the coolant tank. In general, it is recommended to mark or take pictures of all connections, such as the coolant pump, hoses, drain, and filtration hoses. If possible, move the coolant tank out for easier access.
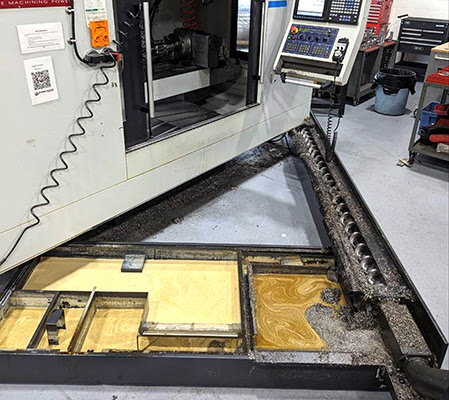
CNC machine tank with contaminated coolant
Start by removing any visible debris, such as chips, dust, or other materials, from the machine. Use brushes, putty knives, scoops, and an industrial vacuum cleaner to clean the surfaces and crevices. Take care not to damage any delicate components during this process.
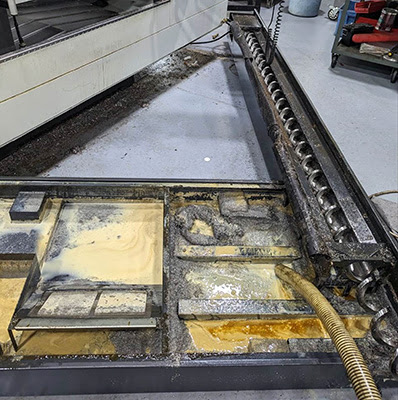
Removing old coolant and debris from the tank of CNC machine
Prepare a mixture of mild detergent and water, such as ZEP 505. Before applying it to the entire machine, test the solution on a small surface to ensure it doesn't have a corrosive effect (low pH). Dip a clean cloth or sponge into the solution and gently wipe down the surfaces of the CNC machine and coolant tank. Pay extra attention to areas prone to buildup, such as the spindle, tool holders, and coolant channels. Avoid excessive moisture and prevent liquid from entering electrical components. Immediately wipe down metal surfaces to prevent rust.
CNC machine coolant cleaner is designed to break down oils, bacteria, and other contaminants that can cause odors. Rinse the system well to ensure no cleaner remains before refilling with fresh coolant.
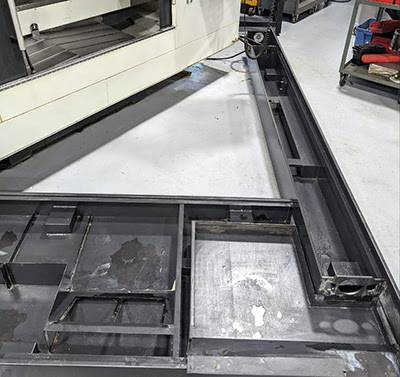
Coolant tank of CNC machine after cleaning
Reassemble any disassembled parts and put the coolant tank back in place. Fill the tank with 1/4 or 1/3 of fresh coolant with a low concentration of 2–3%. Rinse all surfaces by keeping the coolant flowing for 10–20 minutes, and then pump out the coolant.
Fill with Fresh Coolant - Finally, fill the CNC machine with fresh, high-quality coolant. Maintain a slightly higher concentration than usual for the first two weeks.
Maintaining a CNC machine is essential for ensuring its longevity and optimal performance. Regular cleaning prevents the buildup of dust, grease, and metal shavings, which can impact the machine's precision. Always follow the manufacturer's guidelines, and remember to clean filters, lubrication systems, and working surfaces to keep your machine running smoothly.
Spindle, work table and index unit of CNC machine
Before cleaning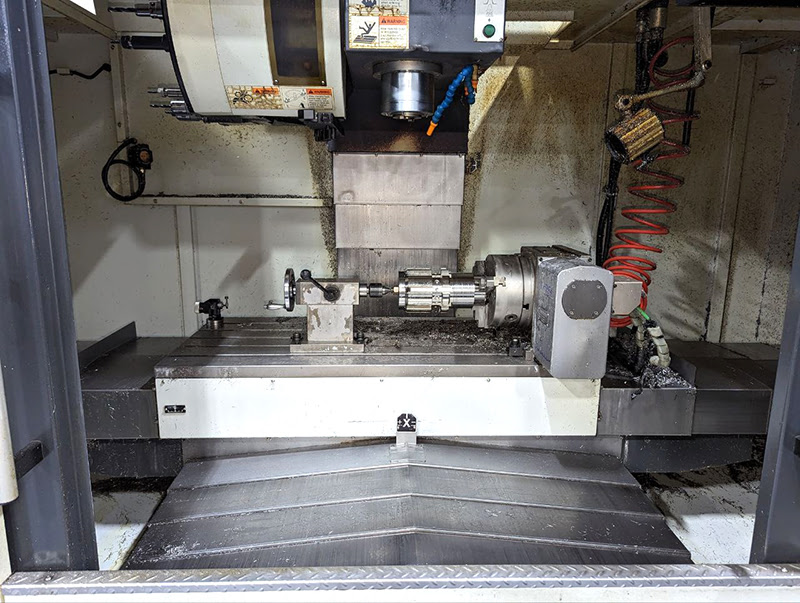
After cleaning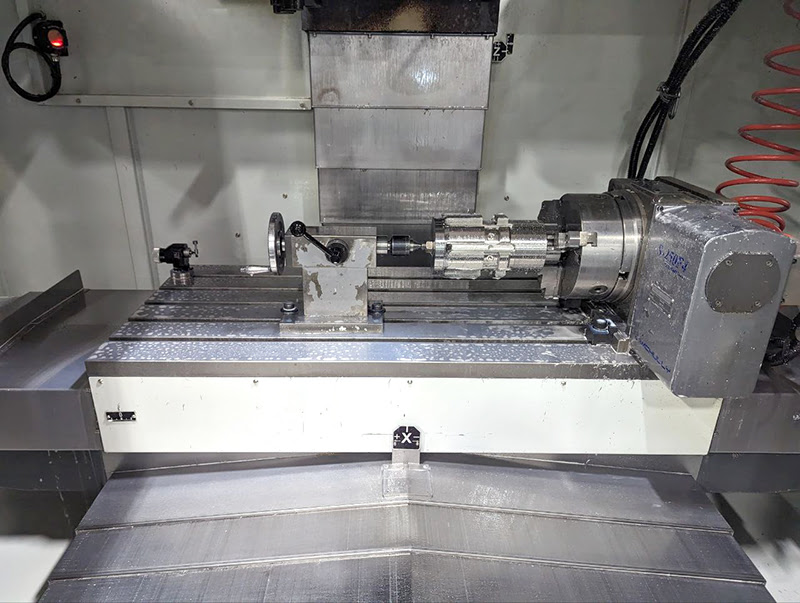
Work area and index unit of CNC machine
Before cleaning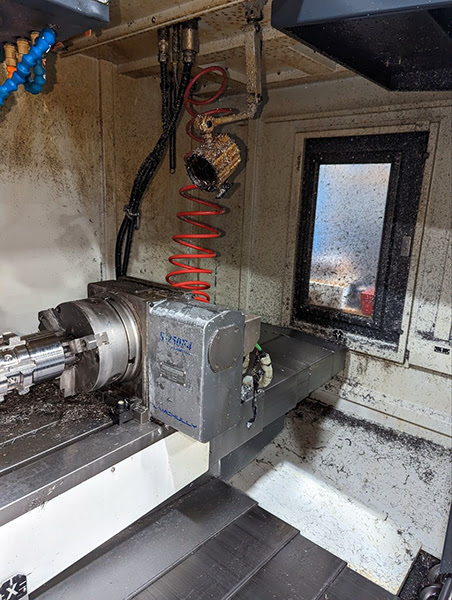
After cleaning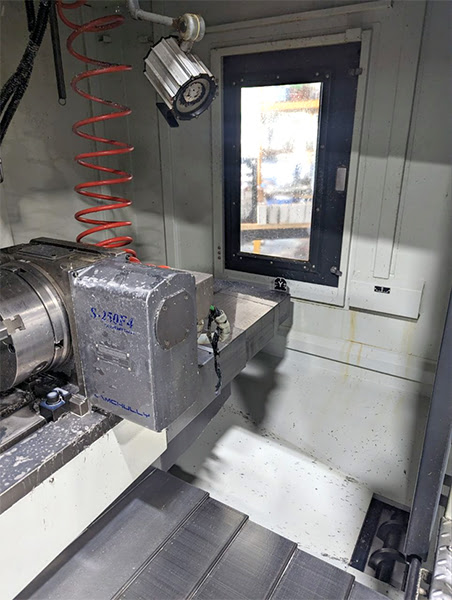
Work area Akira CNC Mill before cleaning
Before cleaning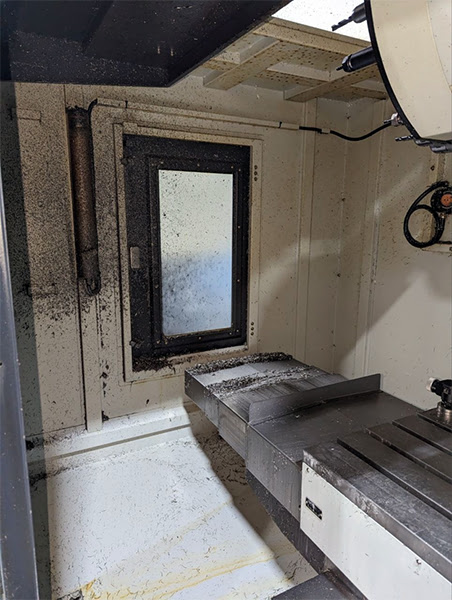
After cleaning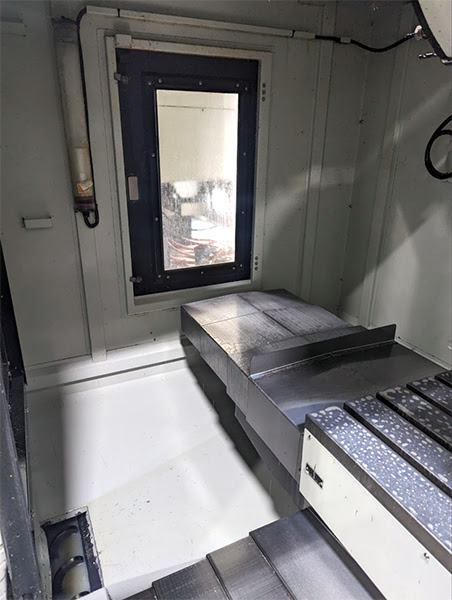
Explore EASYCUT coolant solutions to enhance the precision, efficiency, and longevity of your machining tools. EASYCUT fluid customers benefit from special service rates — and occasionally free cleaning with qualifying purchases. For assistance or to schedule a visit, email info@cncmarket.ca.
Move to other coolant-related articles.